
AI Line Studio Canvas Walkthrough: Every Control in the Diagram Builder
This AI Line Studio canvas walkthrough covers every button, control, and feature inside the builder interface so you know exactly where to click and what to expect. After you register and select Cloud Architecture, the canvas is where your prompt turns into a structured diagram, and where you refine, animate, and export it.
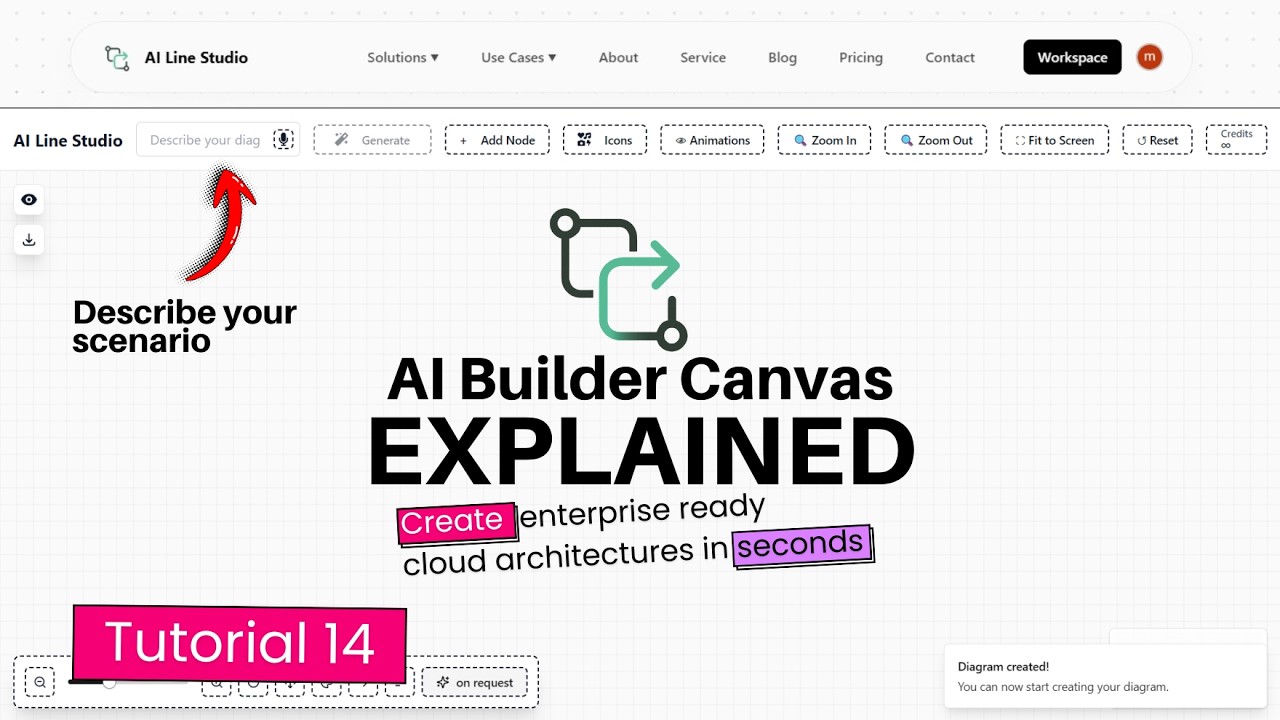
YouTube Tutorial
AI Builder Canvas Explained Create Cloud Architecture Diagrams in Seconds Ai Line Studio Tutorial 14
Landing on the Canvas
After registering on AI Line Studio, you are redirected to the Workspace page. Click Cloud Architecture, choose your provider, AWS, for example, name your diagram, and the platform sends you to the main editing canvas. This is the central workspace where generation, editing, and export all happen.
The layout is intentionally uncluttered. The generation controls sit at the top, the canvas occupies the center, and auxiliary features like zoom and export tuck into the toolbar. You are not hunting through nested menus to find the button you need.
The Input & Generation Box
At the top of the canvas sits the input box. This is where you type your scenario description, a plain-English prompt that describes the architecture you want. The Generate button only becomes active after you have entered text into this field. That small guard prevents accidental empty submissions and gives you a moment to review your prompt before the tool starts working.
Once you submit, the cloud architecture solution interprets your description and returns a structured diagram in seconds. The output appears directly on the canvas, already laid out with logical grouping and official icons. You can then edit, add to it, or export it immediately.
Adding Custom Nodes Manually
Not every architecture fits a single prompt. Sometimes you need to insert a component the generator missed, or you are building a diagram incrementally rather than generating it all at once. The Add Node button lets you manually insert custom nodes into your diagram.
This is useful for edge cases: a legacy on-premise server that connects to your cloud environment, a third-party SaaS integration, or a custom microservice that does not map cleanly to a standard provider icon. You place the node, label it, and connect it to the rest of the diagram without leaving the canvas.
Official Asset Library
The canvas gives you access to more than 3,000 official cloud icons. That library is not buried in a separate panel or hidden behind a subscription gate. It is integrated directly into the builder so you can search, drag, and drop the exact symbol you need.
For system architects and DevOps engineers, that accuracy matters. A diagram with official AWS, Azure, or GCP icons reads as professional documentation. A diagram with generic boxes reads as a rough sketch. When you are presenting to stakeholders or submitting for compliance review, the difference is tangible.
Canvas Navigation Controls
Standard layout buttons sit at the top of the interface for Zoom In, Zoom Out, Fit to Screen, and Reset. These are not afterthoughts. Complex architectures can sprawl across a large canvas, and you need to move between a bird's-eye view of the entire system and a close-up of a specific subnet or service mesh.
Fit to Screen is especially useful after generation. The tool might place thirty nodes across a wide layout, and you want to see the full topology before drilling into details. Reset returns you to the default zoom and pan position if you get lost in navigation.
Credit Tracking
A display counter shows your remaining credits and updates in real-time after each diagram generation. That transparency matters for teams managing a shared account or for individual users on a limited plan. You see the cost of each generation before you click, not after you have burned through your quota.
If you are evaluating the free plan, this counter helps you budget your trial generations. If you are on a paid tier, it prevents surprises at the end of the billing cycle. The real-time update means the number you see is always current, even if you are generating multiple diagrams in a single session.
Diagram Animation Engine
The canvas includes animation controls in two places on the UI. These control the visual flow of the diagram, how data or requests move between nodes. You can customize the animation type to match the story you are telling.
The available options include:
- Single dot animation, a single indicator travels along the connection line.
- Merging dots, multiple indicators converge at a junction point.
- Moving dots, continuous flow indicators along the path.
- Orbiting micro dots, small indicators circle around nodes to show active processing.
- Breathing nodes, nodes pulse gently to indicate live status or load.
Animations are not just visual flair. In a presentation or demo, they help audiences follow the data flow through a complex architecture. A static diagram requires the viewer to trace lines with their eyes. An animated diagram guides them. If you are building architecture diagrams for client pitches or internal training, the animation engine turns a technical document into a communication tool.
Flexible Export Formats
When your design is complete, you can export in three formats.
SVG gives you the high-quality vector file. This is the format you want for print, for embedding in technical documentation, or for handing to a designer who needs to tweak colors or annotations in Illustrator or Figma. SVG scales to any resolution without pixelation.
PNG is the standard image format. Use this for slide decks, email attachments, or anywhere you need a raster file that opens reliably on any device.
Animated Export is available if you have enabled animations on the canvas. This exports a motion-enabled version of your architecture diagram, preserving the flow indicators and node effects you configured. That format is ideal for video content, live demos, or interactive documentation where a static image would fall flat.
Comparing the Canvas to Traditional Builders
Traditional tools like Draw.io give you a blank canvas and expect you to build everything manually. The AI Line Studio canvas flips that model. It generates the foundation automatically, then gives you precise controls to refine, extend, and polish the result.
You are not starting from zero. You are starting from a structured, accurate diagram and using the Add Node button, the asset library, and the animation engine to make it yours. For teams that need to produce architecture diagrams at scale, that hybrid approach, AI generation plus manual precision, cuts production time without sacrificing quality.
Tips for Efficient Canvas Workflow
A few habits speed up your work on the canvas. First, write specific prompts. The better the initial generation, the less manual cleanup you need. Second, use Fit to Screen after every generation to assess the full layout before zooming into details. Third, enable animations only after the structure is final; tweaking node positions with animations running can be visually distracting.
If you are unsure how to phrase your prompts for the best initial output, the input guide covers patterns that work well across providers and use cases.
Getting Started
You can try the full canvas experience immediately after registering. The free plan includes access to the AI Builder, the asset library, and the core generation features, so you can test the workflow before committing to a paid tier.
For more tutorials, prompting strategies, and advanced features, visit the resources hub.
Key Takeaways
- The AI Line Studio canvas walkthrough covers the input box, Add Node controls, 3,000+ official icons, zoom and reset buttons, real-time credit tracking, and the animation engine.
- The Generate button activates only after you enter a prompt, preventing accidental empty submissions.
- Five animation types, single dot, merging dots, moving dots, orbiting micro dots, and breathing nodes, help audiences follow data flow through complex architectures.
- Export options include SVG for vector quality, PNG for standard images, and animated export for motion-enabled diagrams.
- The canvas combines AI-generated foundations with manual controls for teams that need speed without sacrificing precision.
Stop wrestling with blank canvases and manual icon placement.
Create your free AI Line Studio account, walk through the builder controls, and generate your first structured architecture diagram today.
Create Free AccountFrequently Asked Questions
After registering, go to the Workspace page, click Cloud Architecture, select your provider, name your diagram, and you are redirected to the main editing canvas.